How to install and access ISPConfig?
ISPConfig is available only for Debian and Ubuntu.
If you don't have a VPS, please check this article.
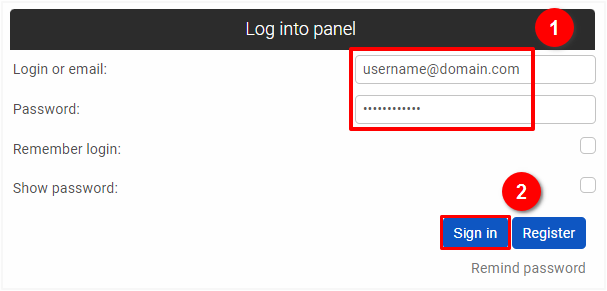
If you already have a server VPS, go to https://HIT.ng/panel/en and enter the login details (1) i.e. the email or profile name to the user panel and the password that were set at the time of registration, and then click on the "Sign in" button (2).
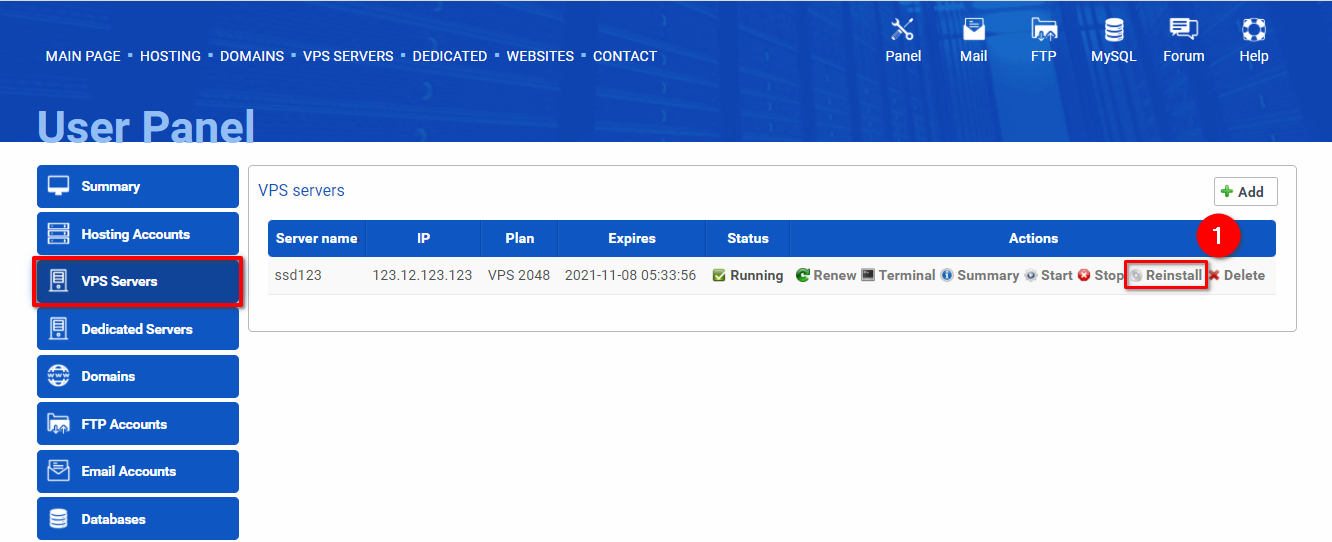
If you want to install ISPConfig, go to the VPS Servers section in the user panel: https://HIT.ng/panel/en/vps, and click on the "Reinstall" button (1).
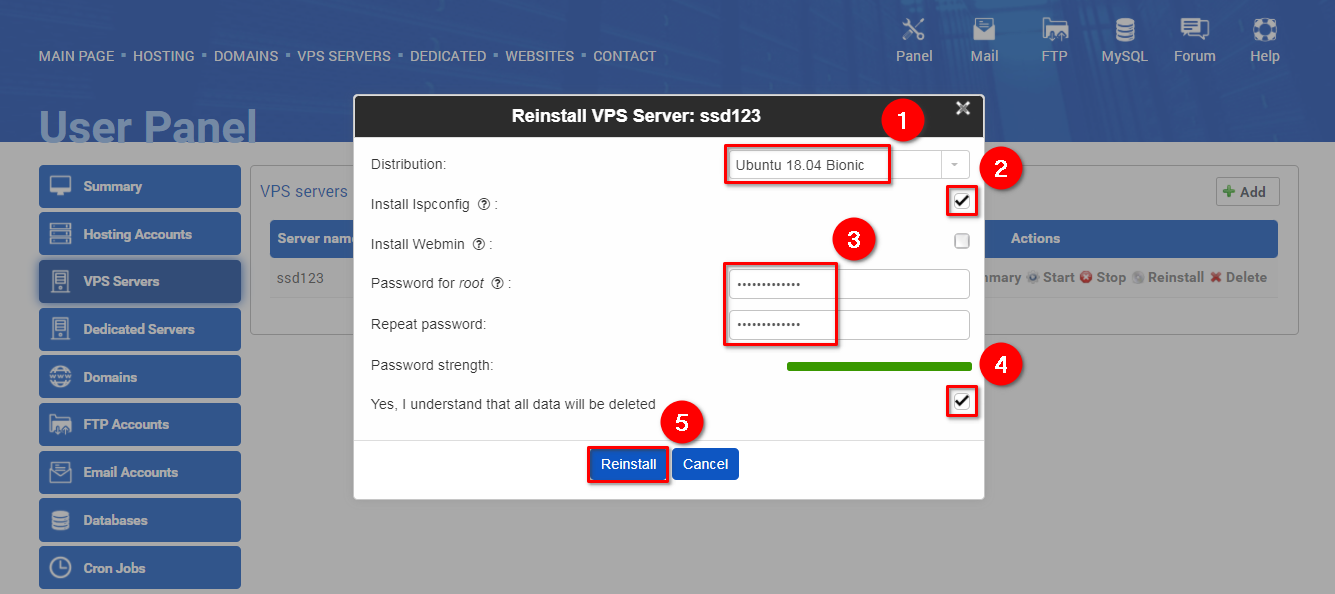
Select a supported distribution (1) and click on the "Install ISPConfig" checkbox (2). Add your password (3). Reinstalling will delete all your data (4). Click on the "Reinstall" button (5) to continue.
Manual Installation Instructions for ISPConfig on Ubuntu 22.04 and Later:
1. Set the Hostname
First, configure the hostname for your server. To do this, run the following command in the terminal, replacing `host.example.com` with your desired domain name: hostnamectl set-hostname host.example.com
2. Install ISPConfig with Apache2
To install ISPConfig with the default Apache2 server, run the following command. The script will automatically install ISPConfig and perform the necessary system updates:wget -O - https://get.ispconfig.org | sh -s -- --unattended-upgrades --no-quota --i-know-what-i-am-doing
3. Install ISPConfig with Nginx (Instead of Apache2)
If you prefer to use the Nginx server instead of Apache2, run this command:wget -O - https://get.ispconfig.org | sh -s -- --use-nginx --unattended-upgrades --no-quota --i-know-what-i-am-doing
4. ISPConfig Password
After the installation is complete, the script will generate and display the password for the ISPConfig panel. Make sure to save this password in a secure place.
This will install ISPConfig on your server with minimal intervention, and the script will take care of the rest.
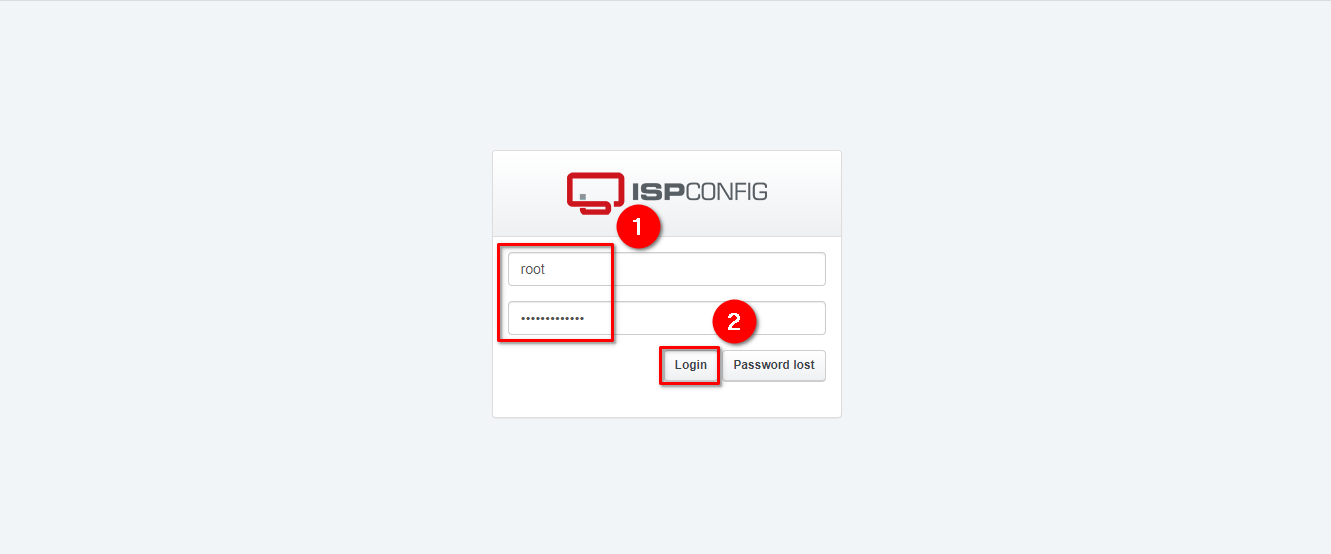
If you want to access ISPConfig, go to https://ASSIGNED-IP:8080/ and enter the login details (1) use root as username and the password that were set at the time of creating your VPS, and then click on the "Sign in" button (2).
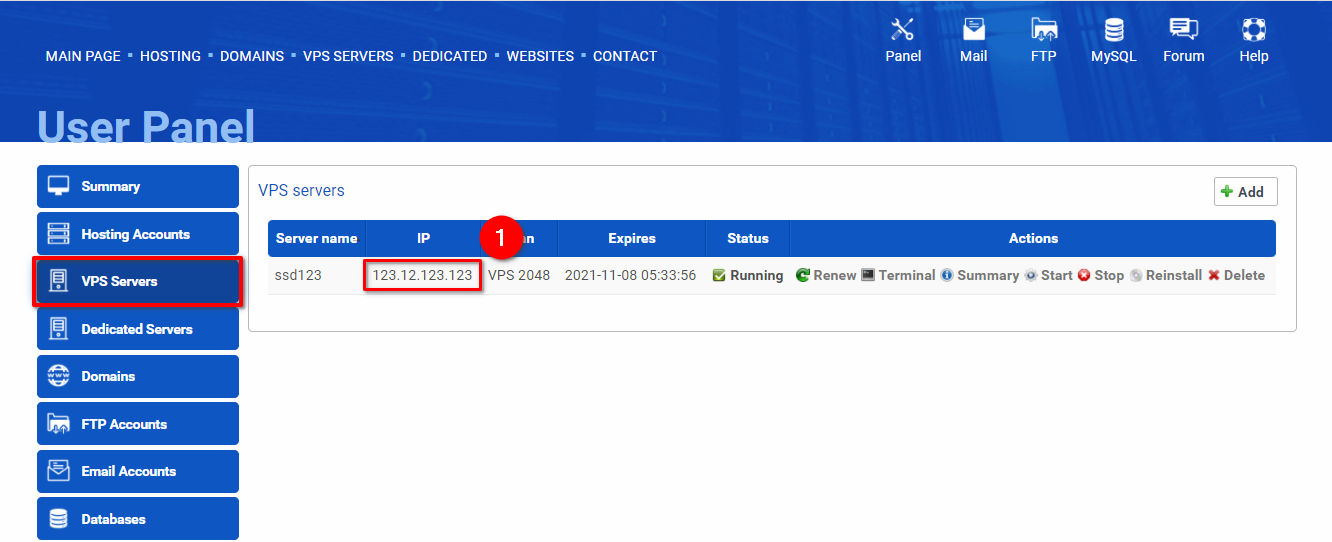
If you want to check your ASSIGNED-IP, go to the VPS Servers section in the user panel: https://HIT.ng/panel/en/vps, and copy the IP address (1).
 Hosting protected by Avast software